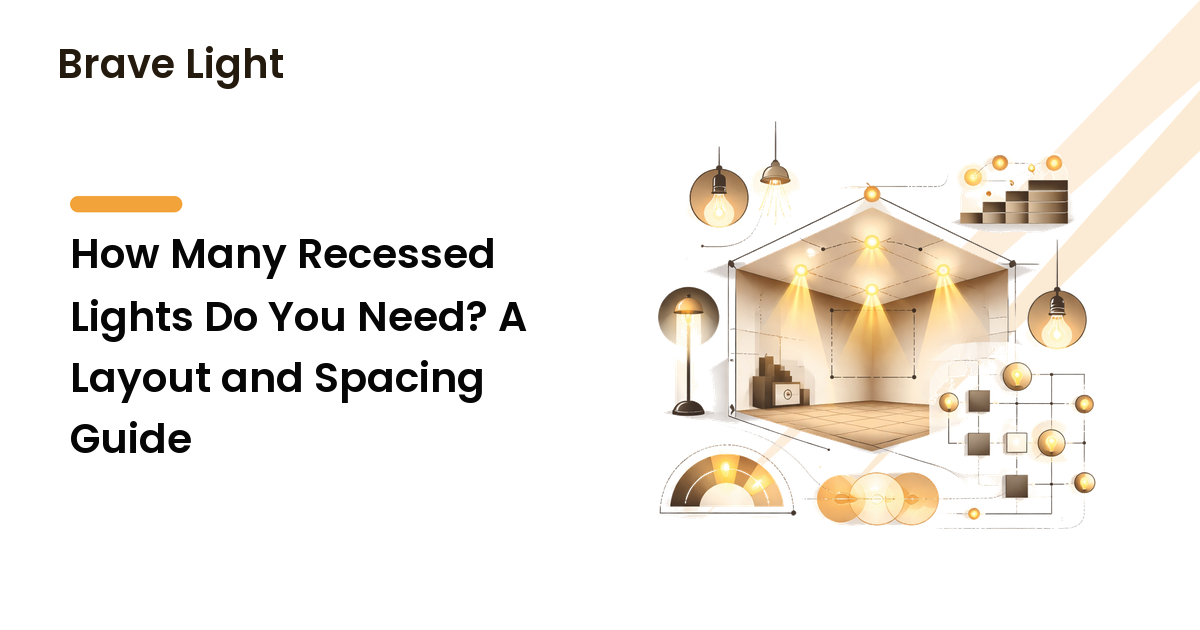
You stand in an empty room with a marker, about to mark where the holes go, and the questions hit at once: How many cans? How far apart? How close to the walls? Get it wrong and you live with it — a ceiling either too sparse to light the room or so dense it looks like a runway. Recessed lights are the one fixture you can't quietly swap later.
The takeaway up front: good recessed lighting layout is about even light on the surfaces that matter, not even spacing of holes in the ceiling. Space the lights to your ceiling height, keep them off the walls, and choose the beam angle on purpose, and a handful of well-placed downlights will out-perform a dozen scattered ones.
Start with the job, not the grid
The most common mistake is treating recessed lights as the entire lighting plan. They're one layer. A ceiling full of evenly spaced downlights gives flat, shadowless general light and nothing else — no warmth, no depth, no light where you actually read or cook. Recessed cans are excellent at the ambient layer, adequate at task when aimed at a counter, and weak at accent unless you use adjustable trims. Plan them as the base of a layered scheme, the way the home lighting design guide lays out ambient, task, and accent — so the question stops being "how do I fill this ceiling?" and becomes "where do I actually need light?"
How many recessed lights do you actually need?
There's no magic number — it depends on the room's size, its job, and how bright the fixtures are. Reason to a count instead of guessing:
- Set the brightness target by the room's job. Kitchens, bathrooms, and home offices justify more or brighter cans; lounges and bedrooms want fewer, dimmer ones, with lamps carrying the mood.
- Pick the fixture output, then divide. Modern recessed LEDs vary enormously in lumens, so two bright fixtures may do the work of four weak ones. Choose the fixture first and you'll need fewer cans than the old "one every few feet" rule.
- Let the layout sanity-check the count. If the spacing comes out absurdly tight or wide, adjust. Over-canning a ceiling is the easiest way to make a home feel like a retail store.
The spacing rule that actually works
Here's the one piece of math worth memorizing:
Divide your ceiling height by two — that's a good starting distance, in feet, between recessed lights.
It's the backbone of recessed lighting spacing: an 8-foot ceiling suggests roughly 4 feet between cans; a 10-foot ceiling, about 5 feet. A higher ceiling lets each light spread wider before it reaches the floor, so fixtures sit farther apart without dark gaps; lower ceilings need them closer.
Treat this downlight spacing as a center-to-center starting point, then adjust: brighter, wider-beam fixtures can stretch past the rule, while task zones like a kitchen counter want lights closer. Even coverage beats perfect symmetry — if a duct or joist forces a shift, nudging one can a few inches matters far less than people fear.
How far from the walls — the detail people skip
Spacing between cans gets all the attention, but in recessed lighting placement the distance from the wall separates a clean layout from an amateur one. Too far and the perimeter falls into shadow — and since the wall is often the most-seen surface, the room reads as darker than its lumens suggest. Too close and you get harsh scallops plus glare as the beam skims the wall.
So set the first row roughly 2 to 3 feet off the wall, then space the rest by the ceiling-height rule. To light a wall on purpose — a feature, a bookcase, artwork — angle adjustable (gimbal) or wall-wash trims at it. That's wall washing: a deliberate technique, not the accident of cramming cans into the corner.
Beam angle and trim: the choices that change everything
Two cans in the same spot can light a room completely differently — this is where layouts quietly succeed or fail.
- Beam angle. Narrow beams throw a concentrated pool, good for accenting an object but leaving dark gaps in general fill. Wide beams spread broadly and overlap gently between fixtures, which is what ambient coverage needs. For even light and no scalloped shadows, lean wide — and reach for adjustable (gimbal/eyeball) trims wherever a can does accent or wall-wash duty.
- Glare and the baffle. Glare is light hitting your eye directly instead of bouncing off surfaces, and a bare bright source overhead is fatiguing. Baffle trims (the ridged black inner ring) absorb stray light and cut glare; reflector trims push out more light but harsher. Where people sit and look up, baffles make the same fixture far more comfortable.
Finally, put the whole layout on a dimmer — recessed light at full output reads as clinical, and dimming is the cheapest way to warm a downlit room at night.
Check what's above the ceiling before you commit
A spacing plan is only valid if the holes can go where you drew them, and the ceiling cavity decides that. Confirm three things before the hole saw comes out:
- Joists and obstructions. Cans land between joists, and ducts, pipes, or wiring can block a spot. Locate the joists first; a perfect grid that ignores them is one you can't build.
- Insulation contact. If insulation sits against the fixture — a top-floor or attic ceiling — choose a fixture rated IC (insulation-contact), because a non-IC can buried in insulation traps heat.
- The wiring. Connecting cans is mains electrical work. If you're not confident and qualified, plan the layout yourself and have a licensed electrician do the cutting and wiring.
A worked example: lighting a 12 × 14 living room
Take a 12 by 14 foot living room with a flat 8-foot ceiling. The spacing rule gives about 4 feet between cans (8 ÷ 2). Start the outer rows roughly 2.5 feet in from each wall so the perimeter and the art stay lit, then fill the middle at that spacing. You land near a 3 × 2 grid — six cans, not the ten a "fill the ceiling" instinct would push. Make them wide-beam with baffle trims, put all six on one dimmer, and add lamps for the mood the cans can't provide.
Those six even, dimmable cans beat twelve narrow-beam ones on a plain switch — which would light the room worse: brighter, flatter, harsher.
FAQ
How far apart should recessed lights be?
Divide your ceiling height in half: an 8-foot ceiling suggests about 4 feet between fixtures, a 10-foot ceiling about 5 feet, center to center. Brighter, wider-beam cans can sit farther apart; task zones like a kitchen counter want them closer and directly overhead. Aim for even coverage over perfect symmetry.
How many recessed lights do I need for a room?
There's no fixed number — it depends on the room's size, its job, and how bright each fixture is. Set the brightness target, choose fixtures bright enough that you don't need a crowd, then lay them out by the ceiling-height rule. Most rooms need fewer cans than people assume.
How far should recessed lights be from the wall?
Roughly 2 to 3 feet for general lighting. Too far and the perimeter and your art fall into shadow; too close and you get harsh scalloped light and glare. To light a wall or artwork on purpose, use adjustable or wall-wash trims aimed at it rather than crowding downlights into the corner.
Should recessed lights be on a dimmer?
Almost always, yes. Recessed light at full output is flat and clinical, and a dimmer is the cheapest way to make a downlit room feel warm at night. Use one rated for your LED fixtures so the room can shift from bright and functional to soft and relaxed.
What beam angle is best for recessed lighting?
Wide beams, for general room lighting — they spread broadly and overlap gently between fixtures, giving even coverage without dark gaps. Narrow beams concentrate light into a pool and work better as an accent for an object or a tall feature than as your main fill.
Plan the layout before you cut the holes
Recessed lighting rewards a plan and punishes a guess: space the cans by the ceiling-height rule, keep them off the walls, choose wide beams and baffle trims, and put it on a dimmer. Every regret here is easy to design out before you cut and impossible to fix after. For more room-by-room plans and the fixture reasoning behind them, explore Brave Light at bravelight.net.